
Teamplace Desktop App for Mac
That’s how it works:
Installation
- Download the Teamplace Desktop Application for macOS here: Download
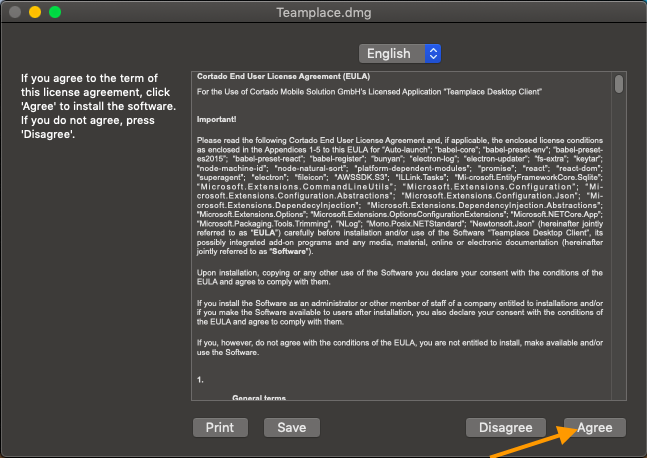
- Open the file Teamplace.dmg and agree to the license agreement.
- In the next step, confirm that you really want to open Teamplace.

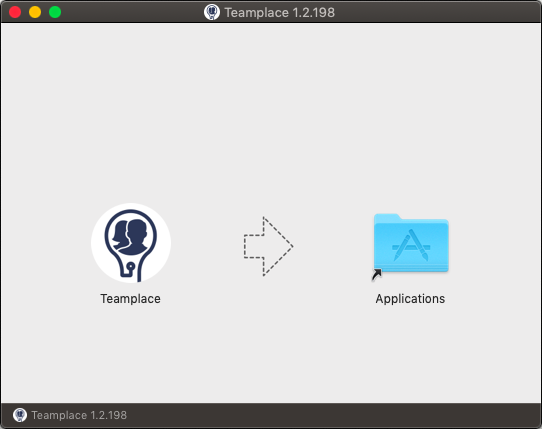
- Now drag the Teamplace app to the Applications folder and open it there.
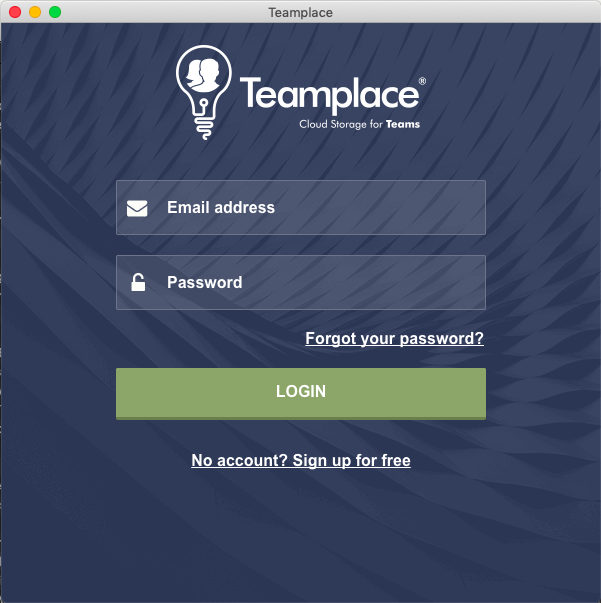
- Then login to the desktop app with your Teamplace account.
Synchronize Teamplaces
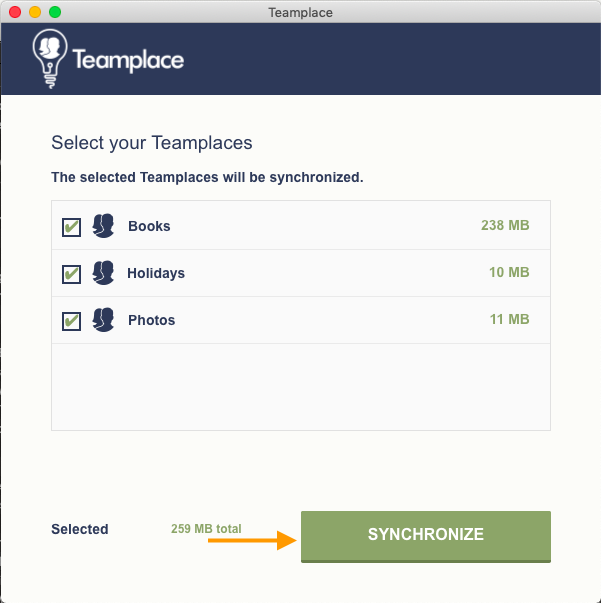
- Now you can see all teamplaces where you are Owner or Host.
- You can now select the Teamplaces that you want to synchronize with your Mac.
- Then click on Synchronize.
Please note: You can sync one free Teamplace and unlimited paid Teamplaces.
- After successful synchronization, click Open Folder.
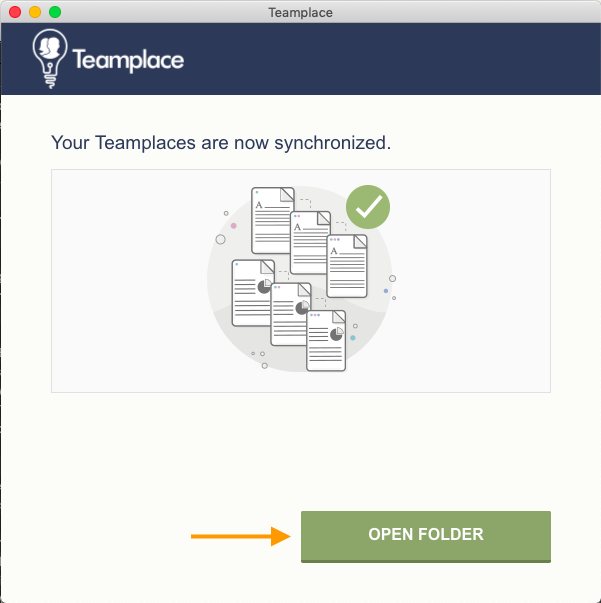
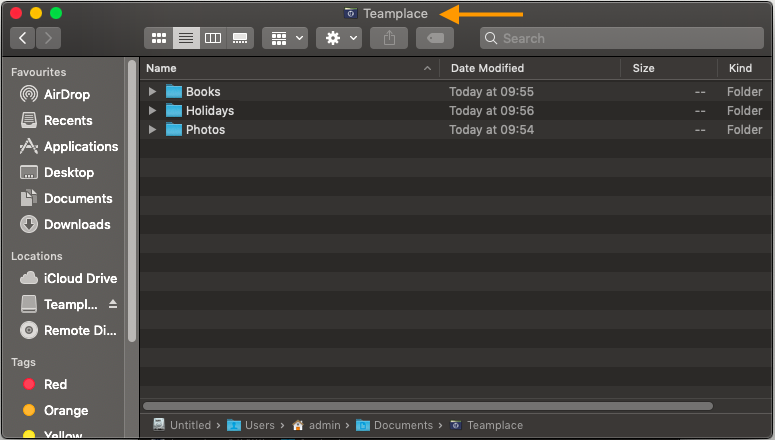
You can now find your teamplaces under Documents.
Adding files to the Teamplace
- You can now simply copy files or folders located on your Mac (for example on your Desktop).
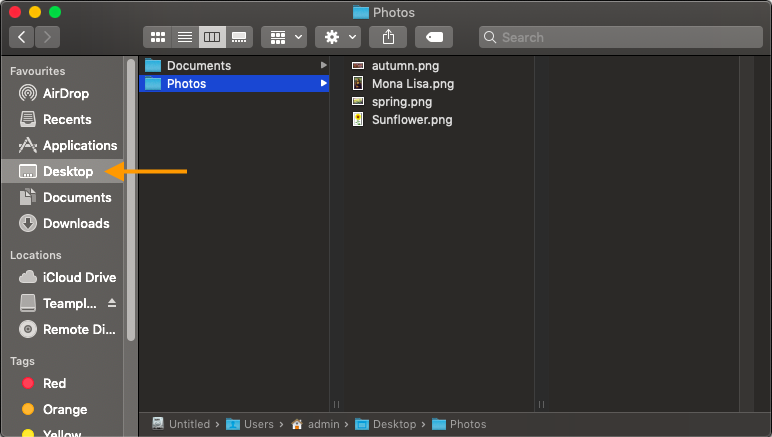
- Then go to the Teamplace drive and paste the files or folders there.
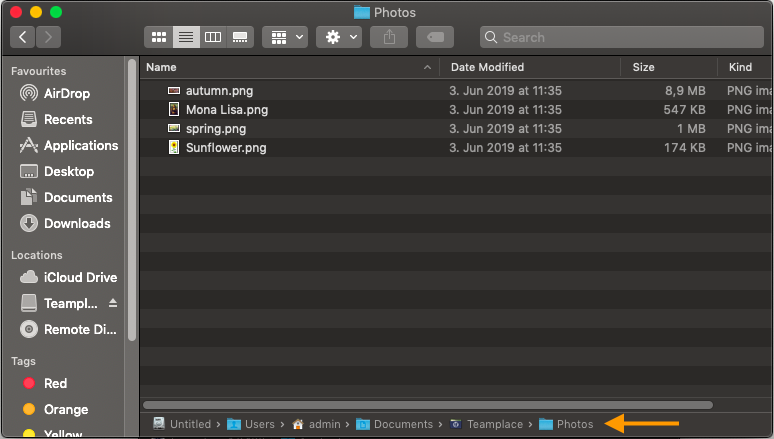
- The files inserted on your Mac will now automatically sync to your Teamplace account.
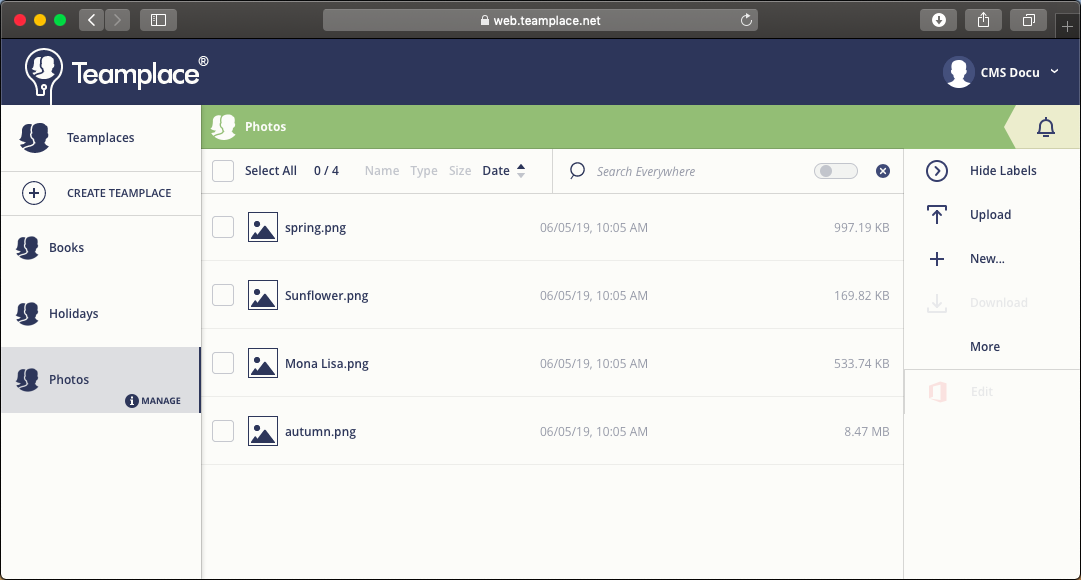
- You can then open the files online in your Teamplace web app, for example:
- Conversely, files/folders that you add to your Teamplace app will be synchronized to your Mac.
Manage Desktop app
The following options are available to you via the Teamplace icon in the info bar (top right of the screen):
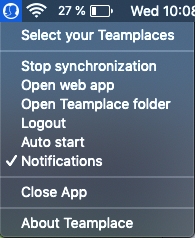
- Select your Teamplaces: Select here which Teamplaces should be synchronized.
- Stop synchronization: Here you can stop the synchronization.
- Open web app: Open the Teamplace Web app in your standard browser here.
- Open Teamplace folder: Open your Teamplace drive in Windows Explorer here.
- Logout: Log out in the desktop app.
- Auto start: Add the desktop app to Windows Auto start.
- Notifications: You can display any error messages that may occur here.
- Close app: Close the desktop app here.
- About Teamplace: Here you can find information about the version number and the copyright.