That’s how it works:
Installation
- Download the Teamplace Desktop Application for Windows here: Download
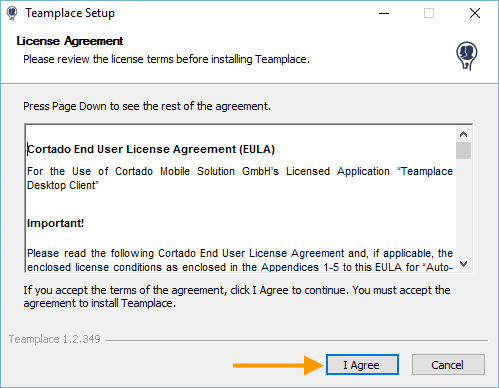
- Open the file Teamplace_setup.exe and agree to the license agreement by clicking Accept.
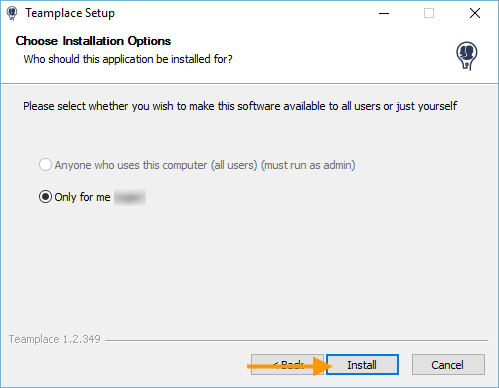
- In the next step, select whether you want to install the desktop app only for yourself or for all users of the PC.
- Then click on Install.
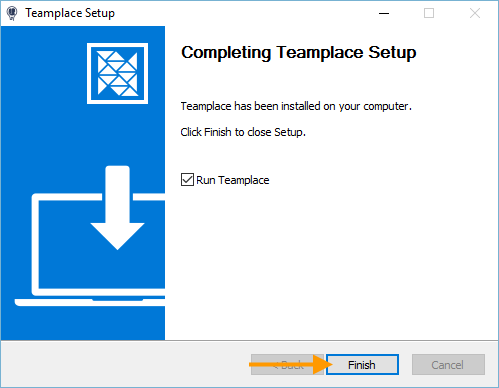
- Finish the successful installation by clicking Finish.
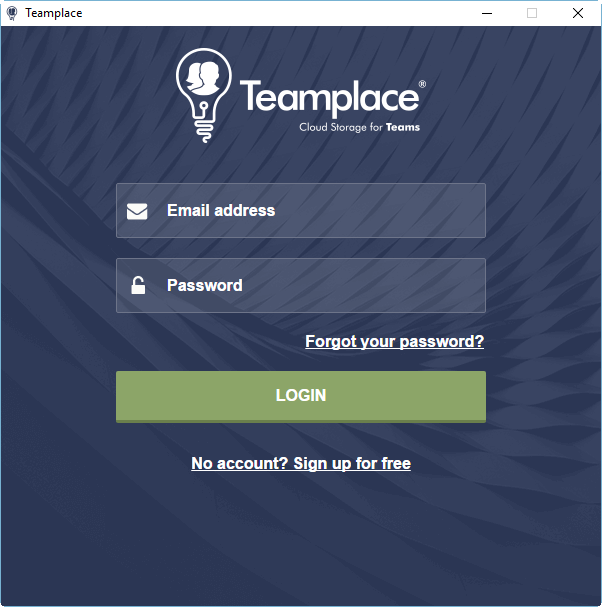
- Then login to the desktop app with your Teamplace account.
Synchronize Teamplaces
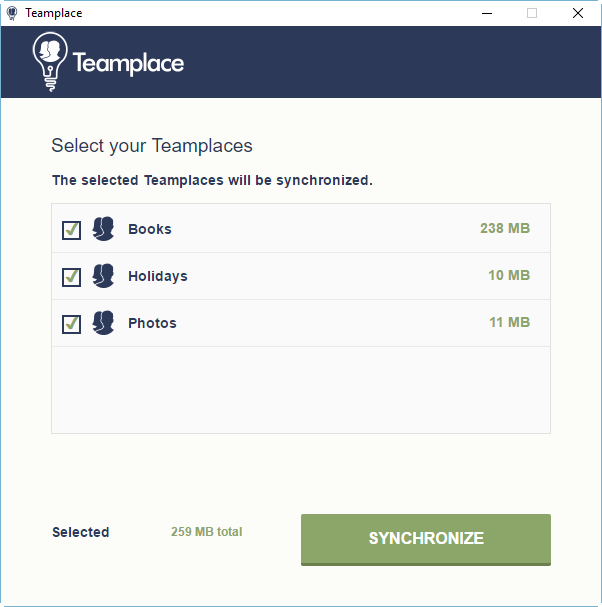
- Now you can see all teamplaces where you are Owner or Host.
- You can now select the Teamplaces that you want to synchronize with your PC.
- Then click on Synchronize.
Please note: You can sync one free Teamplace and unlimited paid Teamplaces.
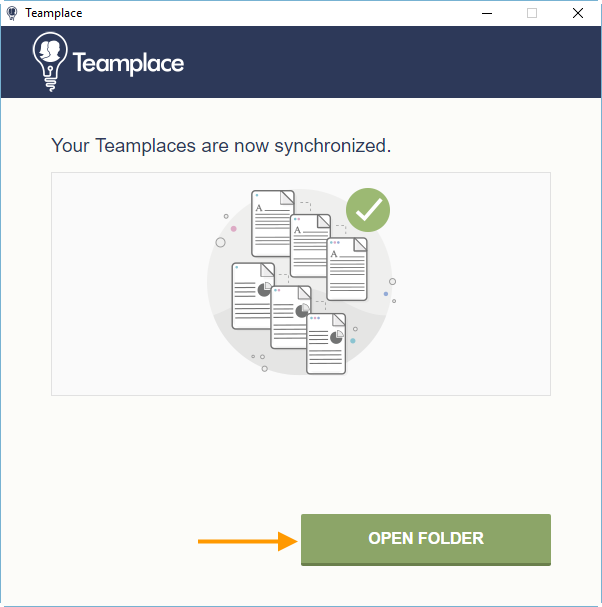
- After successful synchronization, click Open Folder.
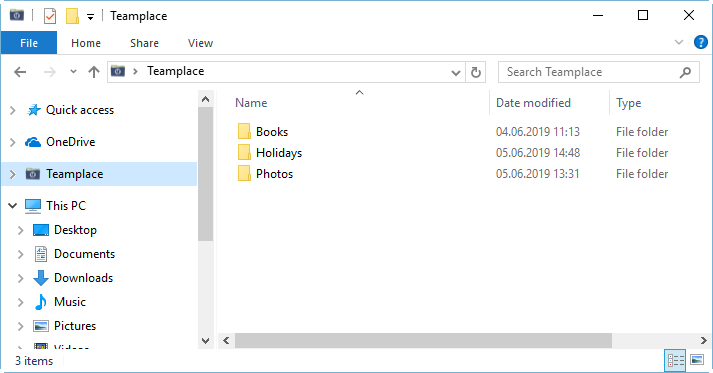
Your Teamplaces are now displayed in Windows Explorer, in the newly created Teamplace drive.
Adding files to the Teamplace
- You can now simply copy files or folders located on your PC.
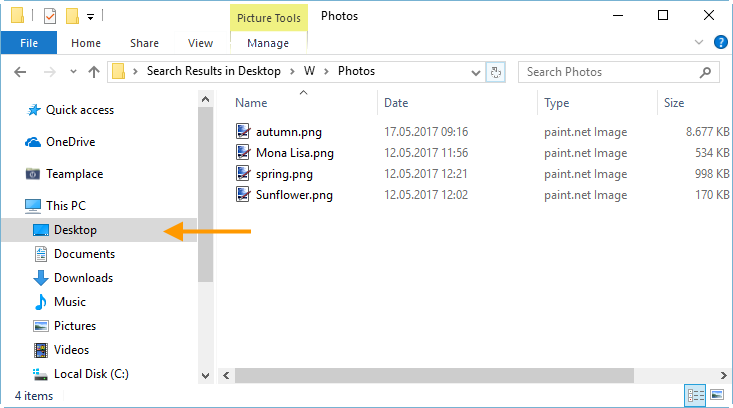
- Then go to the Teamplace drive and paste the files or folders there.
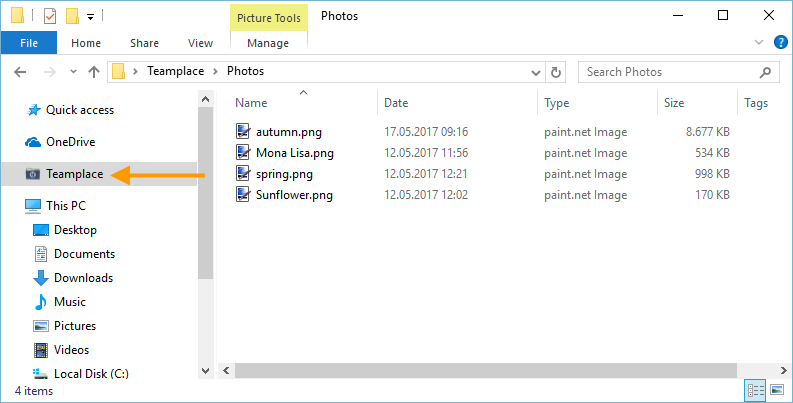
- The files inserted in Windows Explorer are now automatically synchronized to your Teamplace account.
- You can then open the files online in your Teamplace web app, for example:
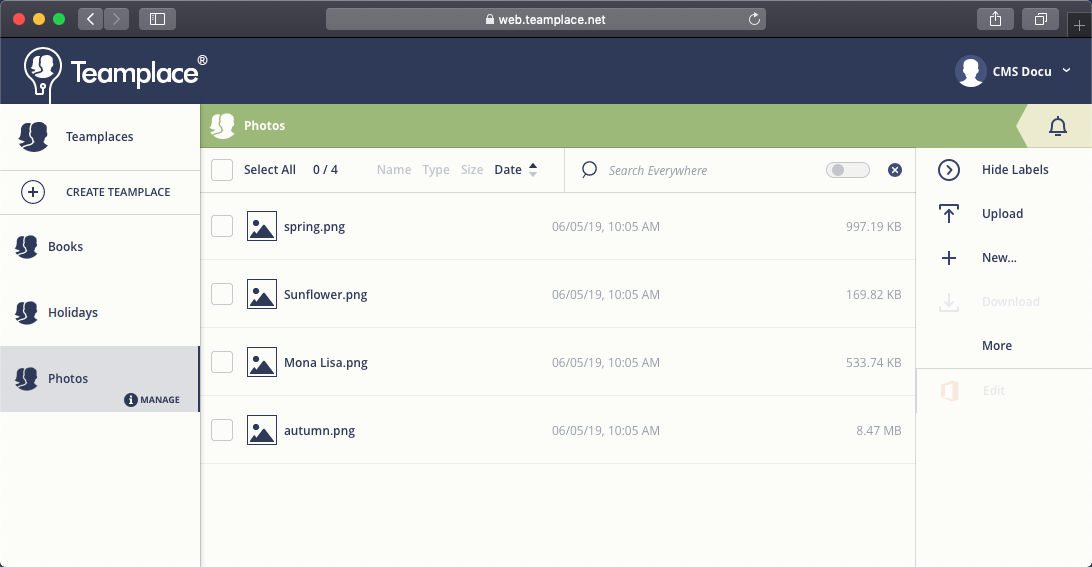
- Conversely, files/folders that you add to your Teamplace app will be synchronized to your PC.
Manage Desktop app
The following options are available in the notification area of your PC’s taskbar:
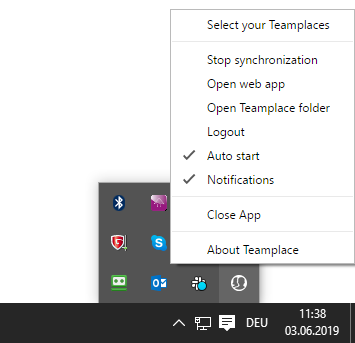
- Select your Teamplaces: Select here which Teamplaces should be synchronized.
- Stop synchronization: Here you can stop the synchronization.
- Open web app: Open the Teamplace Web app in your standard browser here.
- Open Teamplace folder: Open your Teamplace drive in Windows Explorer here.
- Logout: Log out in the desktop app.
- Auto start: Add the desktop app to Windows Auto start.
- Notifications: You can display any error messages that may occur here.
- Close app: Close the desktop app here.
- About Teamplace: Here you can find information about the version number and the copyright.


